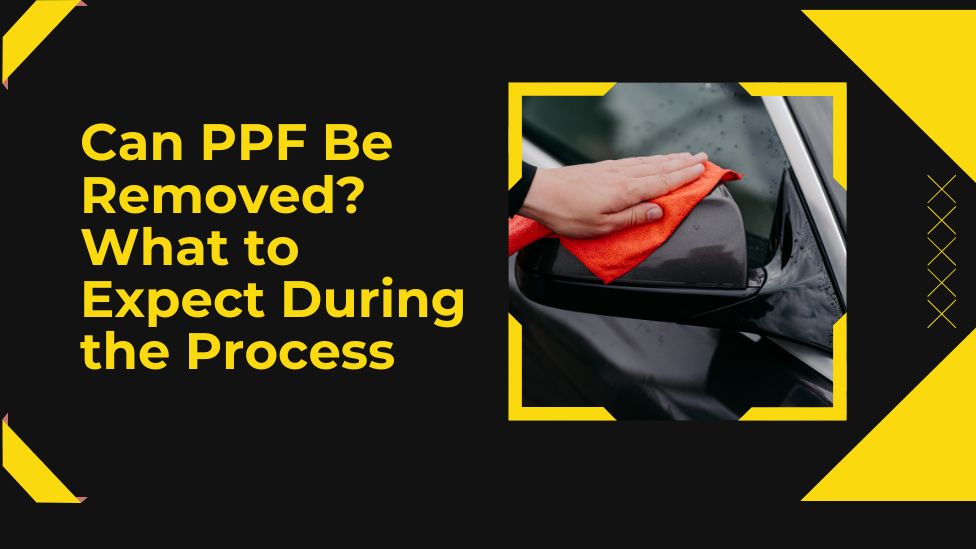
Paint Protection Film (PPF) has become a go-to solution for car enthusiasts and owners looking to preserve their vehicle’s factory paint from road debris, scratches, and UV rays. This virtually invisible shield can last for years, but like all automotive enhancements, there comes a time when it may need to be taken off. Whether it’s due to aging, yellowing, or a desire for a fresh installation, the question arises—can PPF be removed? The simple answer is yes, but it must be done correctly to prevent damage to the underlying paint. In this article, we’ll walk you through what to expect during the process and how to handle it safely.
Understanding PPF and Its Lifespan
Before diving into the removal process, it’s essential to understand what PPF is and how it works. PPF is a thermoplastic urethane film that is applied to painted surfaces of a vehicle to protect it from external damage. When professionally installed, it can last anywhere from 5 to 10 years depending on the product quality, weather conditions, and how well the vehicle is maintained.
Eventually, signs like discoloration, peeling edges, or visible wear and tear indicate that it’s time for a replacement. At this point, knowing how to remove PPF properly is vital to avoid ruining your paintwork.
Why You Might Need to Remove PPF
There are several reasons why car owners decide to remove their PPF:
- Aging or yellowing: Older PPF can become yellow, dull, or cracked over time.
- Damage or bubbling: Poor installation or external damage can lead to air pockets or tears in the film.
- Upgrade or resale: Some owners opt for newer, self-healing films or want a clean surface for sale or lease return.
- Change in aesthetics: You might simply want to refresh the look of your vehicle.
What to Expect During the PPF Removal Process
Removing PPF is not as simple as peeling off a sticker. Done incorrectly, it can pull up paint or leave behind adhesive residue. Here’s what you can expect when going through the process:
1. Inspection and Planning
A professional will start by inspecting the condition of the film and the paint beneath it. This determines the method of removal and whether heat or specific tools are needed. Older films that have baked under the sun for years are harder to take off and may require more effort.
2. Controlled Heating
The removal process usually starts with controlled heating. Heat softens the adhesive, making the film easier to lift without damaging the clear coat. Professionals often use a heat gun or steamer to gently warm up a section of the film.
Care must be taken not to overheat the paint, especially on plastic bumpers or repainted panels which may be more fragile.
3. Peeling the Film
Once heated, the film is gently lifted at an edge and peeled back slowly at a 45-degree angle. This technique minimizes stress on the paint and ensures the film comes off in as large sections as possible. In cases where the film is brittle or has cracks, removal becomes more tedious as it may come off in small fragments.
4. Adhesive Residue Removal
After the film is gone, some adhesive might remain on the paint. This is completely normal and can be dealt with using an adhesive remover that’s safe for automotive paint. Products like citrus-based cleaners or isopropyl alcohol are commonly used to dissolve the leftover glue.
5. Paint Inspection and Correction
Once the surface is clean, professionals often inspect the paint for any imperfections. If the car was in good condition before PPF was applied, the paint should be intact. However, on older vehicles or those with aftermarket paint jobs, some minor damage or clear coat lifting could occur. In such cases, a light paint correction or polishing may be recommended.
6. Optional Reapplication
If your goal is to replace the old PPF with a new one, now’s the perfect time. With the surface cleaned and corrected, a fresh layer can be installed for renewed protection.
DIY vs. Professional Removal
While it’s technically possible to remove PPF at home, especially if the film is relatively new, it’s not always advisable. Here’s a quick breakdown of both options:
DIY Removal
- Pros: Cost-effective, flexible timing
- Cons: Risk of paint damage, difficult without the right tools, time-consuming
If you attempt DIY removal, follow a PPF removal guide and take your time. Always test a small area first and avoid using sharp tools that could scratch the paint.
Professional Removal
- Pros: Safe, efficient, uses proper tools and techniques
- Cons: Costlier than DIY, requires scheduling
Most reputable detailing shops or PPF installers offer removal services. Their experience ensures minimal risk to your vehicle’s surface.
How Long Does It Take to Remove PPF?
The time required depends on the size of the area covered and the condition of the film. For a full front-end wrap, expect anywhere between 2 to 6 hours. If the film is degraded or was applied years ago, it could take longer due to stubborn adhesive or brittleness.
Tips for Safe PPF Removal
To ensure the best results and protect your paint:
- Never pull the film straight off—always peel at an angle.
- Use heat gradually, not excessively.
- Remove adhesive gently with a paint-safe solvent.
- Consider professional help for older or damaged films.
- Avoid removal in direct sunlight or very cold temperatures.
Final Thoughts
Yes, PPF can absolutely be removed, but how you go about it makes all the difference. Whether you’re upgrading to a newer film or simply retiring an aged one, following the proper removal process ensures your paint stays in excellent condition. A smooth, damage-free removal often depends on careful technique, the condition of the film, and sometimes—expert hands.
By understanding the steps and tools involved, you can make an informed decision on whether to handle it yourself or seek professional assistance. This complete PPF removal guide helps you navigate the process with clarity and confidence, ensuring your vehicle looks its best before, during, and after the transition.