
So, you’ve just had window tint installed on your vehicle—congratulations! Window tinting not only enhances your car’s appearance but also improves comfort by blocking out harmful UV rays and reducing heat. However, like any automotive upgrade, proper expectations and care are key in the first few days after installation.
The first seven days after installing window tint are crucial for ensuring the film bonds properly and provides lasting results. This article will guide you through what to expect, what’s normal, and how to care for your new tint during this period.
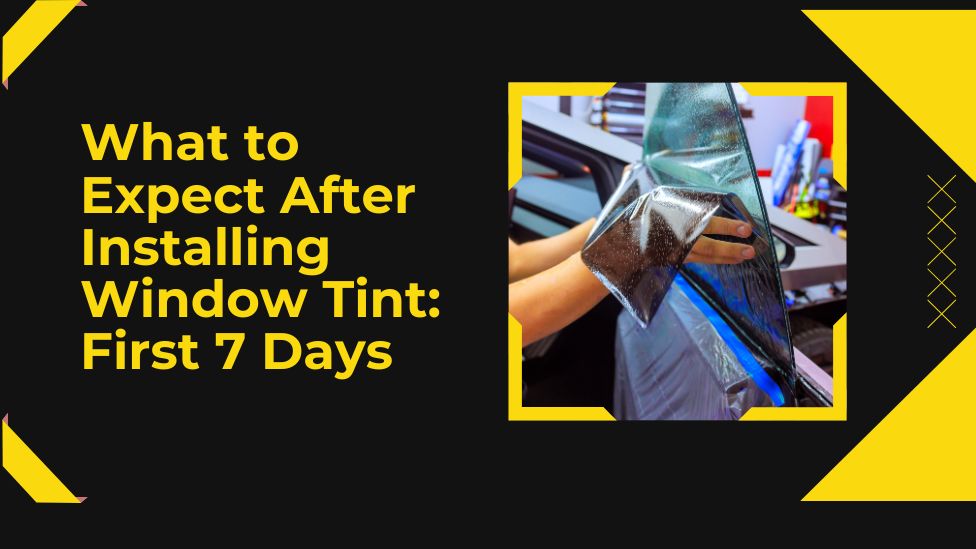
Day 1: The Installation Day
Immediately after the window tint is applied, your technician will likely advise you not to roll down your windows for a set period—usually 2 to 4 days. This is to allow the adhesive to begin setting without being disturbed. At this stage, your windows may appear slightly hazy or streaked. Don’t worry—this is entirely normal.
Do not touch the film from the inside or try to smooth out any bubbles or water pockets you see; these are expected and will settle as the film cures.
Day 2–3: Moisture Pockets and Haze Are Common
As you move into days two and three, you may begin to notice small water bubbles or a cloudy appearance in the film. This is a natural part of the window film curing time process. These moisture pockets are simply trapped water that has not yet evaporated and will dissipate as the film continues to dry and adhere to the glass.
It’s essential during this period to avoid cleaning the inside of your windows. Applying any pressure or using cleaning products could disrupt the curing process and damage the film. Patience is key!
Day 4–5: Film Starts to Settle
By the middle of the first week, most of the moisture should begin to disappear. The tint will gradually become clearer, and the film will adhere more securely to the glass. If you live in a warmer climate or it’s a sunny time of year, the curing process may progress a bit faster thanks to the heat accelerating the drying time.
However, if it’s cloudy, cold, or rainy, don’t be surprised if the tint still appears slightly hazy or retains a few bubbles. Cooler temperatures can extend curing times significantly. In such cases, full curing might take up to two weeks or more.
Day 6–7: Nearing Clarity
As you approach the end of the first week, your window tint will likely look close to perfect—smooth, sleek, and clean. Minor imperfections like tiny specks or faint streaks might still be visible but will often resolve on their own as the film continues to cure. If you still see large bubbles or peeling edges, it’s a good idea to contact your installer for a quick inspection.
How Long Does Window Tint Take to Cure?
While much of the settling occurs in the first week, complete window film curing time can take anywhere from 7 to 30 days depending on factors like film type, weather conditions, and vehicle usage. Dyed films usually cure faster, while ceramic and metallic films may take longer.
The adhesive used in window films is activated by heat and sunlight. So if you’re in a colder area or tend to park your car indoors, it might take longer for the tint to fully cure.
Essential Window Tint Aftercare Tips
Proper window tint aftercare is just as important as the installation itself. Following these tips during the first seven days (and beyond) will ensure your tint lasts for years:
1. Don’t Roll Down the Windows
Avoid rolling down your windows for at least 3 to 5 days post-installation. Doing so too soon can cause the film to peel or shift.
2. Avoid Cleaning the Interior Glass
During the first week, refrain from wiping or cleaning the inside of your windows. Let the tint bond without any interference.
3. Keep the Car in the Sun (if Possible)
If weather permits, park your vehicle in direct sunlight. The heat helps speed up the curing process and eliminates moisture faster.
4. Handle With Care
Avoid placing objects that might touch or scratch the windows, especially items like seatbelt buckles that could snap back and hit the glass.
5. No Stickers or Suction Cups
Do not attach anything to the inside of your tinted windows during the first few weeks. This includes decals, suction-mounted accessories, or temporary window shades.
What’s Normal and What’s Not?
Knowing what’s expected can give you peace of mind during the curing process. Here’s a quick summary:
| Condition | Is It Normal? | Explanation |
| Bubbles or water pockets | ✅ Yes | Trapped moisture that will evaporate during curing |
| Hazy or streaky film | ✅ Yes | Will clear up as adhesive bonds and moisture dissipates |
| Peeling edges | ❌ No | Contact your installer—may be due to poor adhesion |
| Purple or fading tint (over time) | ❌ No | Indicates low-quality film; consider upgrading |
| Crackling or distortion | ❌ No | May suggest installation error or defective film |
What If My Tint Still Looks Off After a Week?
In most cases, your window tint should appear nearly flawless after the first week. But if you’re still seeing large bubbles, lifting edges, or significant cloudiness that doesn’t improve, don’t hesitate to revisit your installer. Reputable tint shops often offer a warranty or touch-up policy to ensure client satisfaction.
Final Thoughts
The first seven days after installing window tint are all about patience and care. Understanding what’s normal—like bubbles and haze—and what isn’t, can help you avoid unnecessary worry. By giving your new tint time to settle and avoiding any disturbances, you’re setting the stage for long-term performance and sleek looks.
Remember, the window film curing time can vary depending on climate and film type, so don’t rush to judge results too early. And by following proper window tint aftercare, you ensure your investment stays protected and beautiful for years to come.